A quick change to the Quick Change Trousers
The Quick Change Trousers is undoubtedly one of the most popular patterns to make from my Handmade Beginnings book. I think its obvious why: they are sweet, simple, reversible, easy to make and easy to wear. It almost deserves a flickr group all its own, because there are so many adorable examples on the book's flickr page (along with so many other great sew-ups)! And in my book, (not sure if that pun was intended) any great, straight forward pattern calls for some fun adaptations. In fact all patterns call for this to me. Having a pattern is great, but it is always just one way to do it. So today I thought I would share another, really simple way to do up these trousers.
Making the shorter variety of the trousers is an obvious adaptation that really requires no explanation or change to the pattern other than amending the length. Great. Yay. Got it. But Roman's wiggleyness, and activity level these days really makes me on the constant lookout for one piece clothing, so that his clothes will stay on. (Almost all childrenswear manufacturers stop that at 24 mos for some reason, what the heck? It drives me nuts.) And though the book pattern for the Quick Change Trousers only goes up to 24 mos (no space for more!), because it is so simple to begin with its also pretty simple to grade up in size. Roman is slightly taller than average for his age, but he can still wear the 24 mos size in this pattern due to being pretty narrow through the hips, and we don't do the cloth diaper thing (do you? wow, I am so proud of you. sigh.)
Here are the main components of amendment to turn your Quick Change Trousers into overalls:
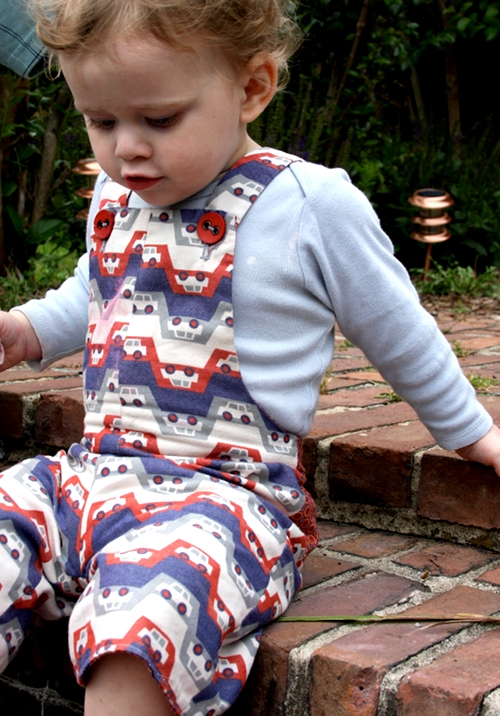
- Transform the front leg pattern piece into one continuous leg + bib front piece. To do this you are really just adding a rectangle to the top waistline edge of the front leg pattern that extends to cover your baby's chest. This will mean the center front seam of the pants will continue up in a straight line to the top of the bib (how long this line will extend depends on your child's height and how high you'd like the bib to be). The top horizontal line of the bib is at a 90 degree angle to the center seam line. The bib width will not be as wide at the width of the front leg but stop a few inches short of that- really just depends on how wide you'd like the bib to be. The side edge of the bib, at least Roman's, is a straight line just until it is a few inches away from meeting the waistline of the pant leg again, and then it curves out towards the side to meet the waistline. Of course, just try it first on paper, and pin it to your annoyed toddler's shirt to have a look.
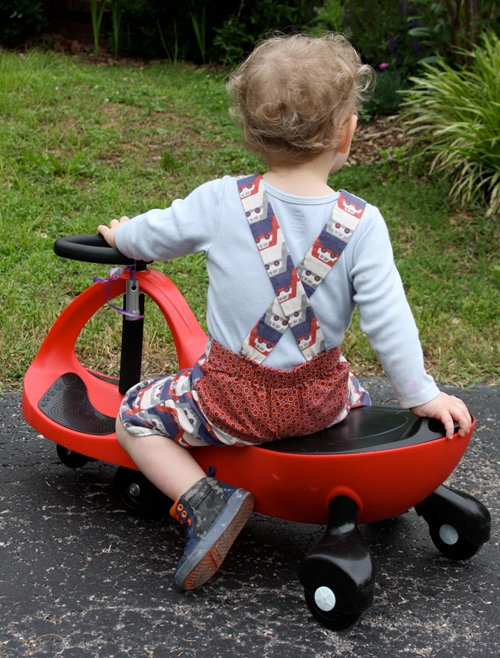
-You'll also need to make some straps. Roman's are a finished 1.5" wide, which I think looks nice and supports the 1" wide buttons well. His overalls have a few extra inches of finished strap (the button end of the strap behind the bib) to allow for some button moving once he grows a bit. To make the straps, I first cut the straps extra, extra long, sewed them right sides together with one finished end, turned them out, pressed them, then stuck the unfinished ends into the back of the pair of pants he was wearing, crossed them across his back and then over his shoulders to judge how much I might need to shorten. In all instances I firmly believe in messing with your kid to get it right. No reason for you to suffer alone, I say. Struggle brings two people together. Team work is worthwhile work.
-Where was I?
-The assembly of the overalls will follow the exact assembly of the trousers, with the exception of:
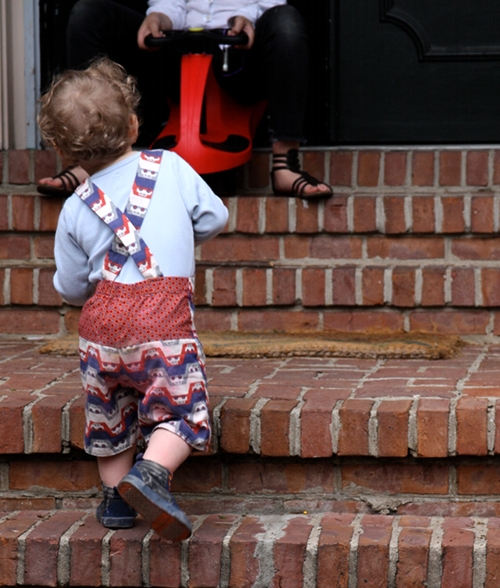
-sew the straps into the back waistline seam before you join the inner and outer pants together
-only create an elastic channel on the back of the pants between the outer edges of where you have placed the two straps, and anchor the elastic in place at both ends of the channel
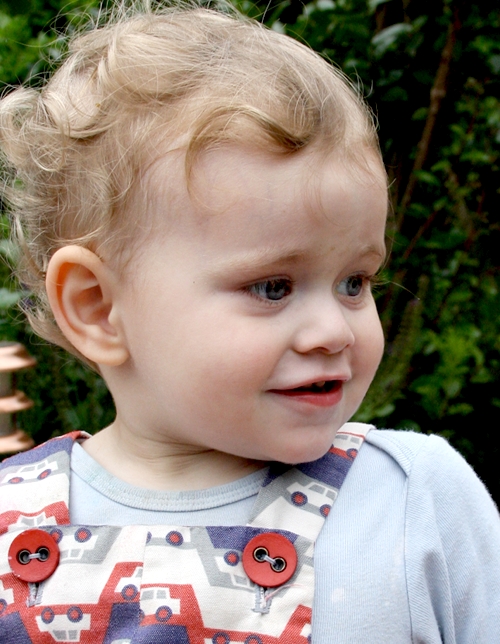
-double sew a pair of buttons on opposite sides of each finished strap end to keep them reversible (total of 4 buttons)
-create button holes in top corners of bib front
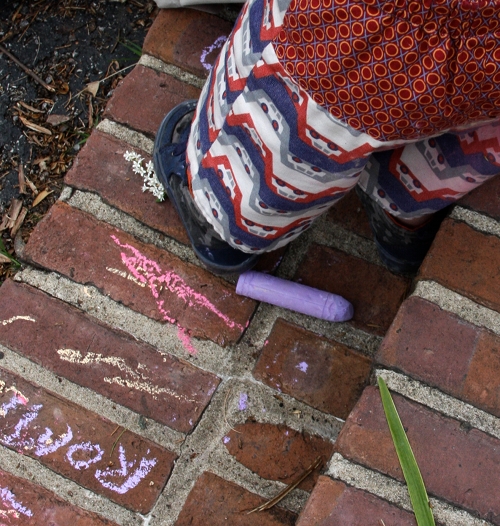
We used an adorable Kokka print (covered in chalk above) that I picked up at Purl when we were in NYC earlier this year. Roman loves this print so so so much. For the months I waited to get started on the project, he would bring me the fabric and gesture for me to spread it out on the floor so he could lay on it. I need to go cry now. I'm back. He is such a stinkin widdle sweetheart.
And because of that I put hugs and kisses on his butt. Fabrically, not literally.....but well, his little tush has been loved. Oh and the reverse, is made all from this print, which is adorbs, but haven't gotten him still again lately to show you that. We've made a few pairs now, and all have been worn shirtless too.
have fun, lots of love, Anna


Comments