Bare Canvas
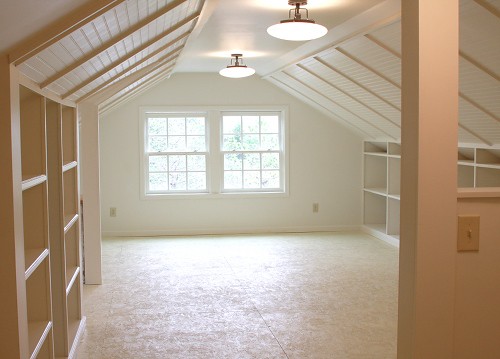
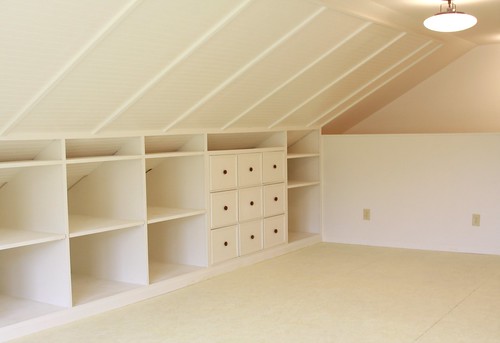
Because I felt like I wouldn't see it like this again until I'm 85, I thought it would be good to take photos of the white room completely finished but completely empty. Jeff insists we call it the white room. It is both obvious and descriptive and its what I called it when I was trying to figure out what to call it, but somehow still wasn't obvious to me. I'm like that. Above is the view as you come up the steps and turn to the right. This is the mid progress view of the same. On the left there are fabric shelves, broken in the middle with a nook that has a closet rod for hanging pattern samples and such. Just beyond the fabric shelves you can turn to the left to see.....
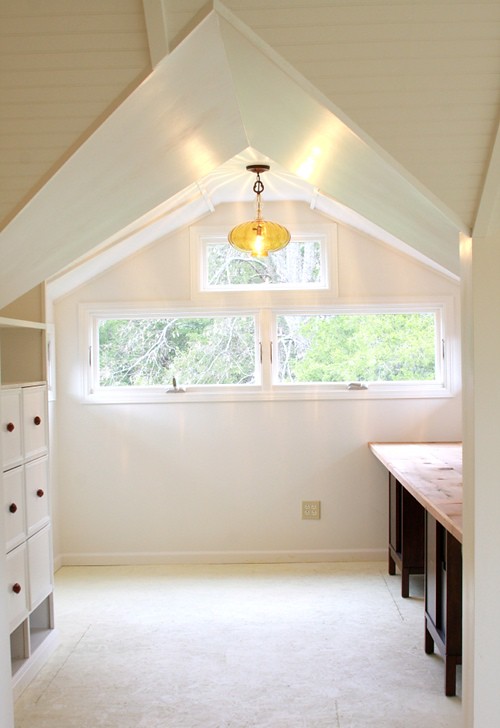
...this. My nook. This is the dormer part of the renovation that builds out over towards the backyard. I love this spot so very much. It almost didn't happen. Roof angles came in every which way here, and it wasn't clear for a while just exactly how to use the space. I literally almost cried (okay, so I did) trying to figure it out, and wished I had listened to my dad 20 years ago and gotten an architecture degree. What was available was very weird and low, and really building a dormer was the only way to make it livable and useful. But it still took a while to envision what the shape of it would be from the outside, how large, how deep, what we would be left with on the inside once the outside was figured out and how far beyond budget (whats that?) it would put me. I finally got to the point where I told Geoff and Pat to just get started flooring everything and I'll figure it out as we go. They loved that. All builders love that.
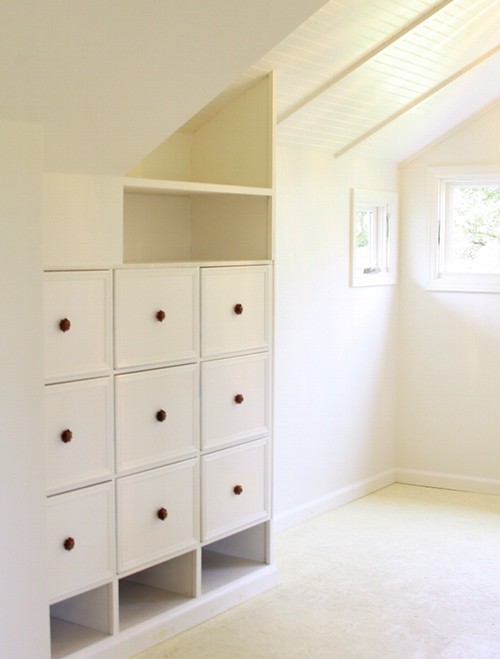
But it worked out beautifully. Its about 12 feet deep from the rest of the room and only about 9ft wide, but it adds so much to the room. This is a ready made file drawer chest that I got here and painted white. They cut off the feet and all the ledges of it that stuck out, fit it into this space above custom cubbies and below some other shelving. This will mostly be used for art supplies and my drafting table will settled right next to it.
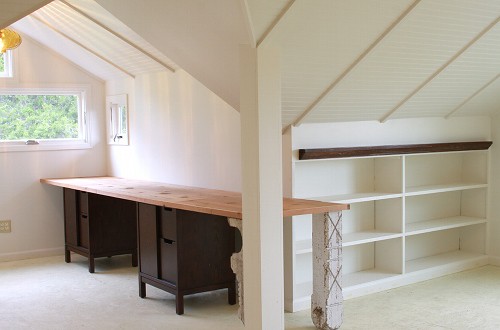
On the other side of the nook is my computer table and general work station where I'll also have my printer, my light box and likely a million other things that I'm pretending don't exist including empty juice boxes and peanut butter cracker wrappers. The file cabinets are found here and they support a table top that I sort of dreamed up as we went. There were several planks flooring some of the attic joists when we moved in, and while they didn't cover much ground up there, they had this beautiful aged color, and dark knots.
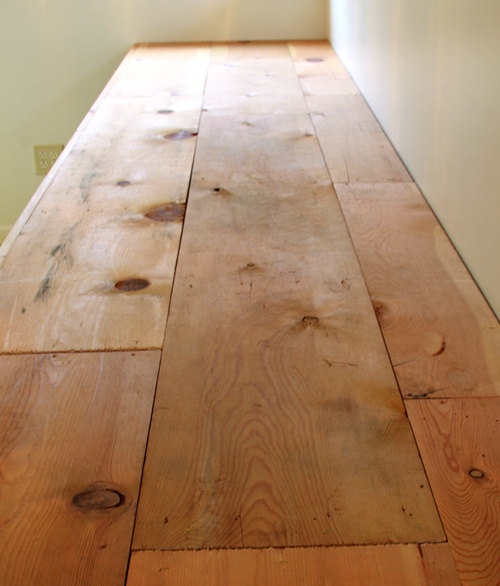
They serve so beautifully as my new table top. It's about 28" deep and almost 12' long. I took these pictures before I sealed the wood, and now that its sealed with a clear coat, it is so much deeper in color and I daresay prettier. This is really so fast and cheap. Geoff literally just used super long staples to nail the planks to a plywood base, and I think he also put some glue between. (Am I confusing you with Geoff and Jeff? Jeff is my husband. Geoff is not.) I am not picky about perfection for this kinda thing. In fact I was really looking forward to having something rough and old and very, very simple to kind of balance all the newness.

Speaking of old, I found these lovely artifacts at a favorite local haunt, Preservation Station. Furthering the challenge of figuring out this attic was that some of the support columns had to stay in place. Some of them I was able to hide within walls, others like the one above I dressed with an old corbel to support one end of the table. I wasn't originally going to make the table so long, but when I realized that the angled spot between the column and the corner was pretty much useless and would bang a few growing heads I went ahead and extended the table all the way.
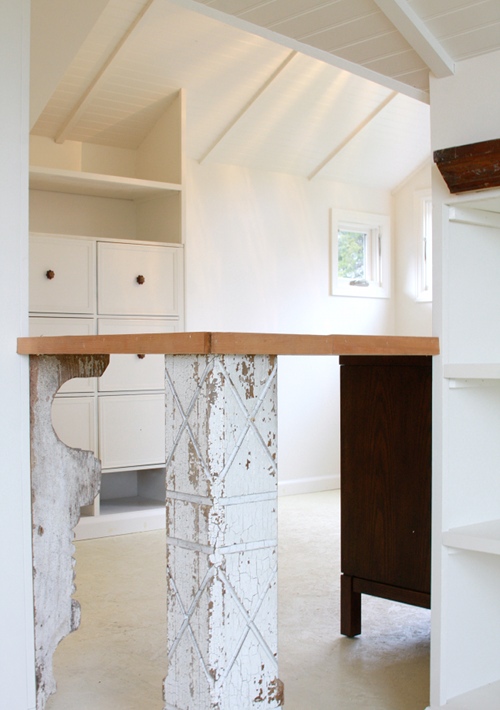
From this side the corner of the table will sort of serve as an end table in the bookshelf/seating area which will be at the end of the white room in front of the large window. Maybe a little stool should slide under the end for a homework doer. This leg is an old fence post which was as equally cruddy/lovely as the corbel.
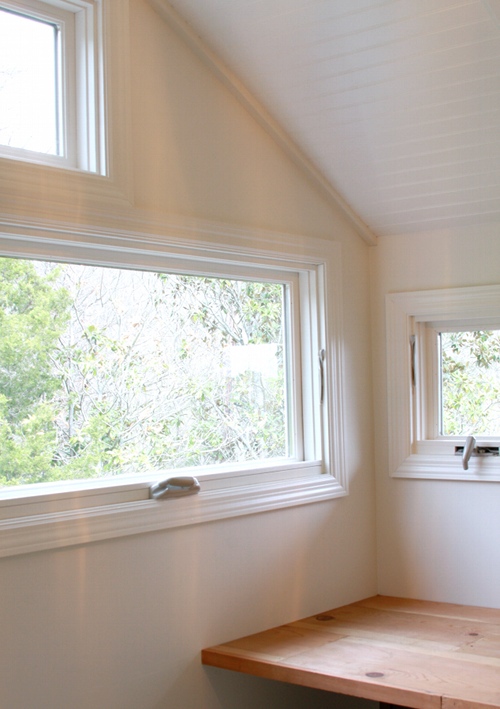
Oh, back in the dormer. I elected to window as much of it as the roof would allow for, in an effort to get as much natural light as possible. However setting the windows any lower would have really just given me a partial view of the roof, so I kept them up pretty high for mostly a tree/sky view at every glance. Even though these side windows are tiny, when they're open so much circulation comes through and it really helps the whole tree house vibe. I chose to get awning style windows which just crank out so they open at a top to bottom angle, which are awesome because you can leave them open in the rain. Pitter pat. I listened to quite a bit of that last night. That top window in the gable peak doesn't open, but is just a transom to provide light.
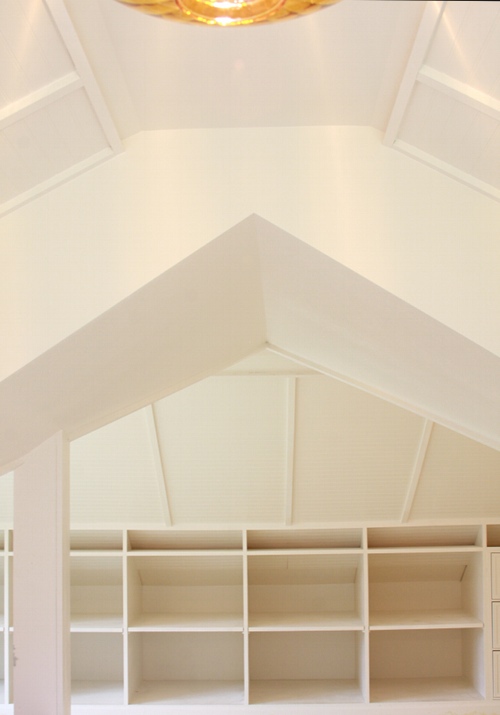
Here's a view from the dormer into the main area of the white room. Lots and lots will get loaded into those shelves. Not necessarily all pretty stuff, but boxes and such too. I have a feeling the moved-in shots won't need any explanation after all this here chatter.
Back towards the beginning end of the room I have another of the same file cabinet. Obviously this won't hold files as it'll be the sewing end of the room, but great for all my notions, supplies and the like. Hooray.
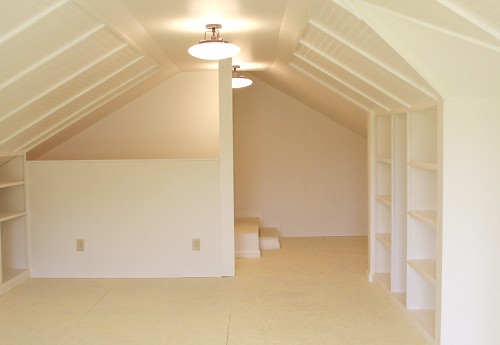
Kind of the same view here, just rotated around a bit more to show where the fabric shelves are again. This is the mid-progress view of the same. The stairs from the studio come up right there on the other side of that half wall. And beyond that are a couple stairs that walk up through a door and into what is the real attic. The bead board and woodwork on the angled walls was sort of a mid-progress splurge. Its hard to tell from these photos just how very long this room is from one end to the other, and when I envisioned a huge, long expanse of drywall that you couldn't really hang anything on because of the angle, I started having a fear of blankness. Simple and clean is good, but I wanted to have a little interest as well. So while the angled wood pieces sort of have the look of rafters peeking out, they are completely cosmetic. But they are one of my favorite details that came about through lots and lots of searching through Google images.

And here are the lights. I found them at the Ferguson Lighting gallery over on Powell Ave. The highest clearance we have in the main area of the room was about 7'6", and with a husband that stands (quite gorgeously (sorry I was just thinking about it)) at 6'5", I had to really consider the total height of the lights I chose, which narrowed down the options. Also, if you want more info on the hand made lamps, like this one here, you can ask for Todd at Ferguson's.
Oh and the floors, I don't think I ever mentioned that I chose to just use porch/floor paint right onto the plywood. After a little caulking in the seams and a few coats, you'd never know just how cheap pretty can be.
Thanks for coming. I got some messing about to do now.
xo, Anna


Comments